The 10-Minute Monthly Car Checklist Anyone Can Do
A simple 10-minute monthly car check anyone can do: tires, lights, wipers, oil, coolant, brakes, battery and leaks, with a printable checklist.
Ten minutes a month, once around your car, is enough to catch most of the problems that leave people stranded or facing a big repair bill. You don’t need tools beyond a tire gauge, a rag, and your phone’s flashlight. Do this in your driveway or a parking lot, with the engine cold if you can, and you’ll spot low tires, a dead bulb, a slow leak, or a dropping fluid level while they’re still cheap and easy to fix.
Here’s the full walkaround, step by step, plus a printable-style checklist at the end.
Before you start
Park on level ground and turn the engine off. For the fluid checks, a cold engine is safer and gives more accurate readings, so the best time is first thing in the morning before you’ve driven.
You’ll want:
- A tire pressure gauge (a $5–$15 pencil or digital gauge is fine)
- A clean rag or paper towel
- Your phone (flashlight, and a camera to photograph anything odd)
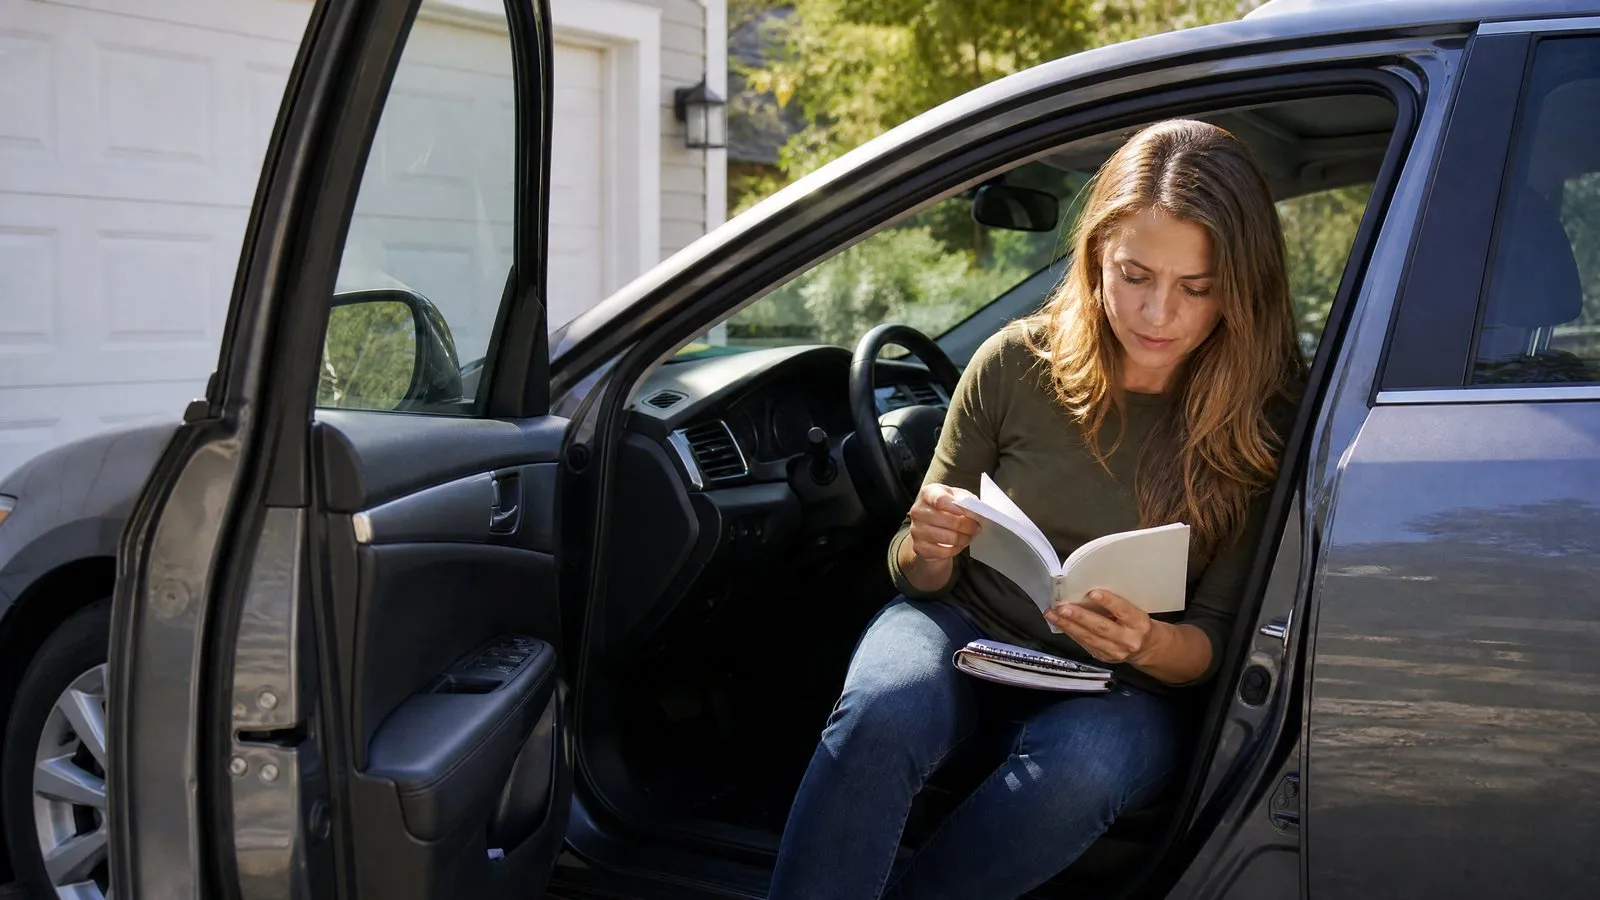
- Your owner’s manual, which has the exact numbers for your car
A quick word on that last point: every figure in this guide is a typical range. Your owner’s manual is always the final word for your specific vehicle.
1. Tires: pressure and tread (about 3 minutes)
Tires are the single most important thing on this list for safety, and they lose pressure slowly on their own, roughly 1 psi per month, plus about 1 psi for every 10°F the temperature drops.
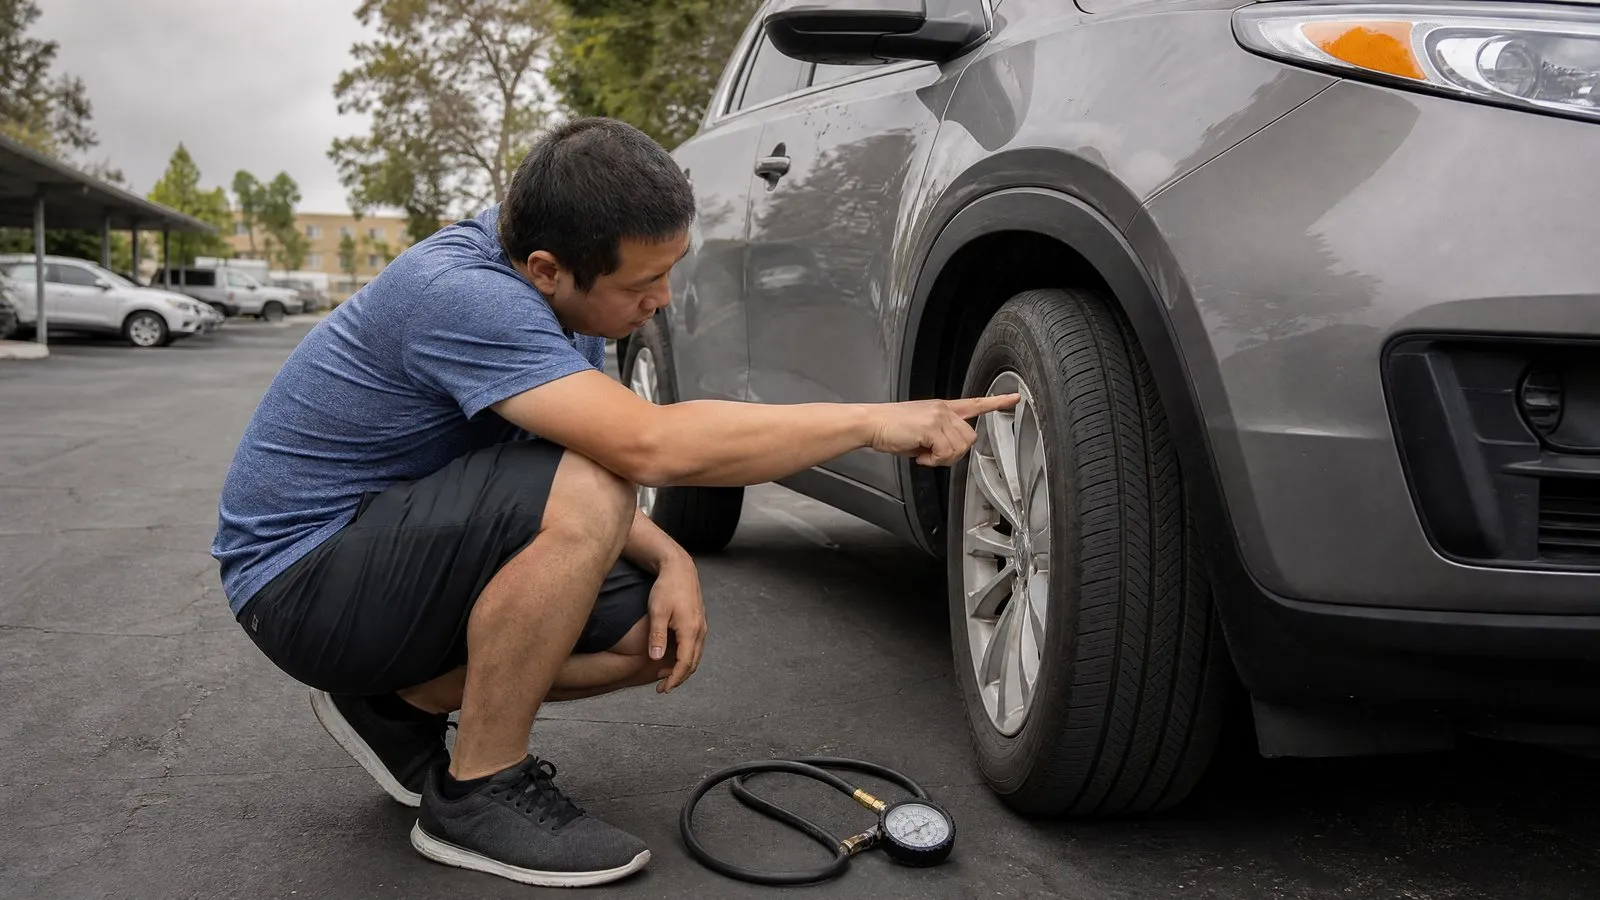
Check the pressure with your gauge on all four tires, and don’t forget the spare if you have one. The correct number is not on the tire sidewall. It’s on a sticker in the driver’s door jamb (also in the manual), usually between 30 and 35 psi for a typical car or small SUV. Check when tires are cold, meaning the car has sat for a few hours or been driven less than a mile. Top up any that are low at a gas station air pump.
If a tire is repeatedly low while the others hold steady, you likely have a slow leak worth getting checked. For the full method, see how to check tire pressure the right way.
Check the tread next. The classic penny test works: put a penny into a tread groove with Lincoln’s head upside down. If you can see the top of his head, your tread is at or below 2/32 of an inch and the tire needs replacing. Many tires have built-in wear bars, flat rubber ridges that sit flush with the tread when it’s worn out. While you’re down there, glance for uneven wear (one edge balding faster than the other), which points to alignment or inflation problems. More detail here: how to check tire tread depth.
2. Lights (about 1 minute)
Burned-out bulbs are easy to miss because you’re sitting inside the car, not behind it. They’re also a common reason for getting pulled over.
Turn the ignition on and walk around:
- Headlights (low and high beam)
- Daytime running lights
- Turn signals, front and rear
- Brake lights (press the pedal; use a wall or a helper, or check the reflection in a garage door or shop window)
- Reverse lights (shift to reverse with the brake on and the car safely stopped)
- License plate light
Replacing a bulb is usually a $10–$30 job. On many newer cars with LED units, a failed light means a dealer or shop visit, so it’s worth knowing which type you have.
3. Wipers and washer fluid (about 1 minute)
Lift each wiper blade and look at the rubber edge. If it’s cracked, split, or torn, or if it leaves streaks and skips across the glass, it’s done. Blades typically last 6 to 12 months and are one of the easiest things to replace yourself: see how to replace wiper blades in five minutes.
Then pop the hood and check the washer fluid reservoir, which has a cap marked with a windshield-and-water symbol. Top it up with proper washer fluid, not plain water, which freezes in winter and doesn’t clean well. In cold climates, use a winter blend rated to the temperatures you drive in.
4. Engine oil level (about 2 minutes)
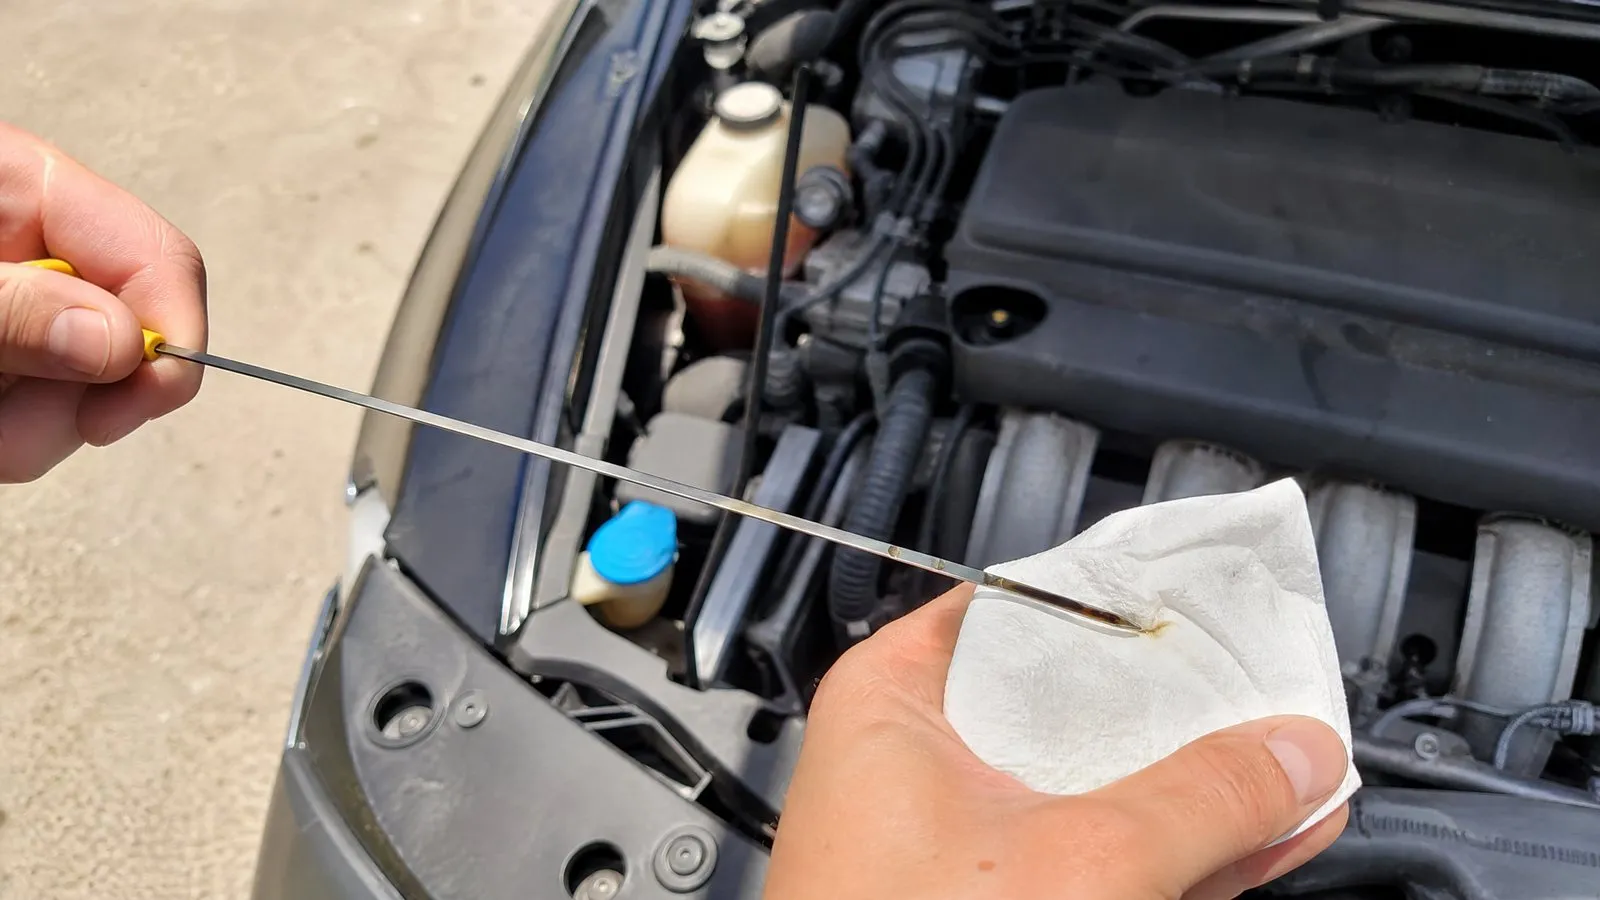
With the engine cold and the car level, pull the dipstick (usually a yellow loop), wipe it clean, push it all the way back in, then pull it again and read the film of oil.
- The oil should sit between the two marks (often “MIN” and “MAX,” or two dots or crosshatching).
- If it’s at or below the low mark, add oil a little at a time, rechecking as you go. The gap between low and full is usually about one quart.
- Note the color and feel. Fresh oil is amber; dark is normal with use, but gritty, milky, or a level that keeps dropping are reasons to dig deeper.
Full walkthrough: how to check your engine oil. Some newer engines have no dipstick and read oil level electronically through the dashboard menu; your manual will say so.
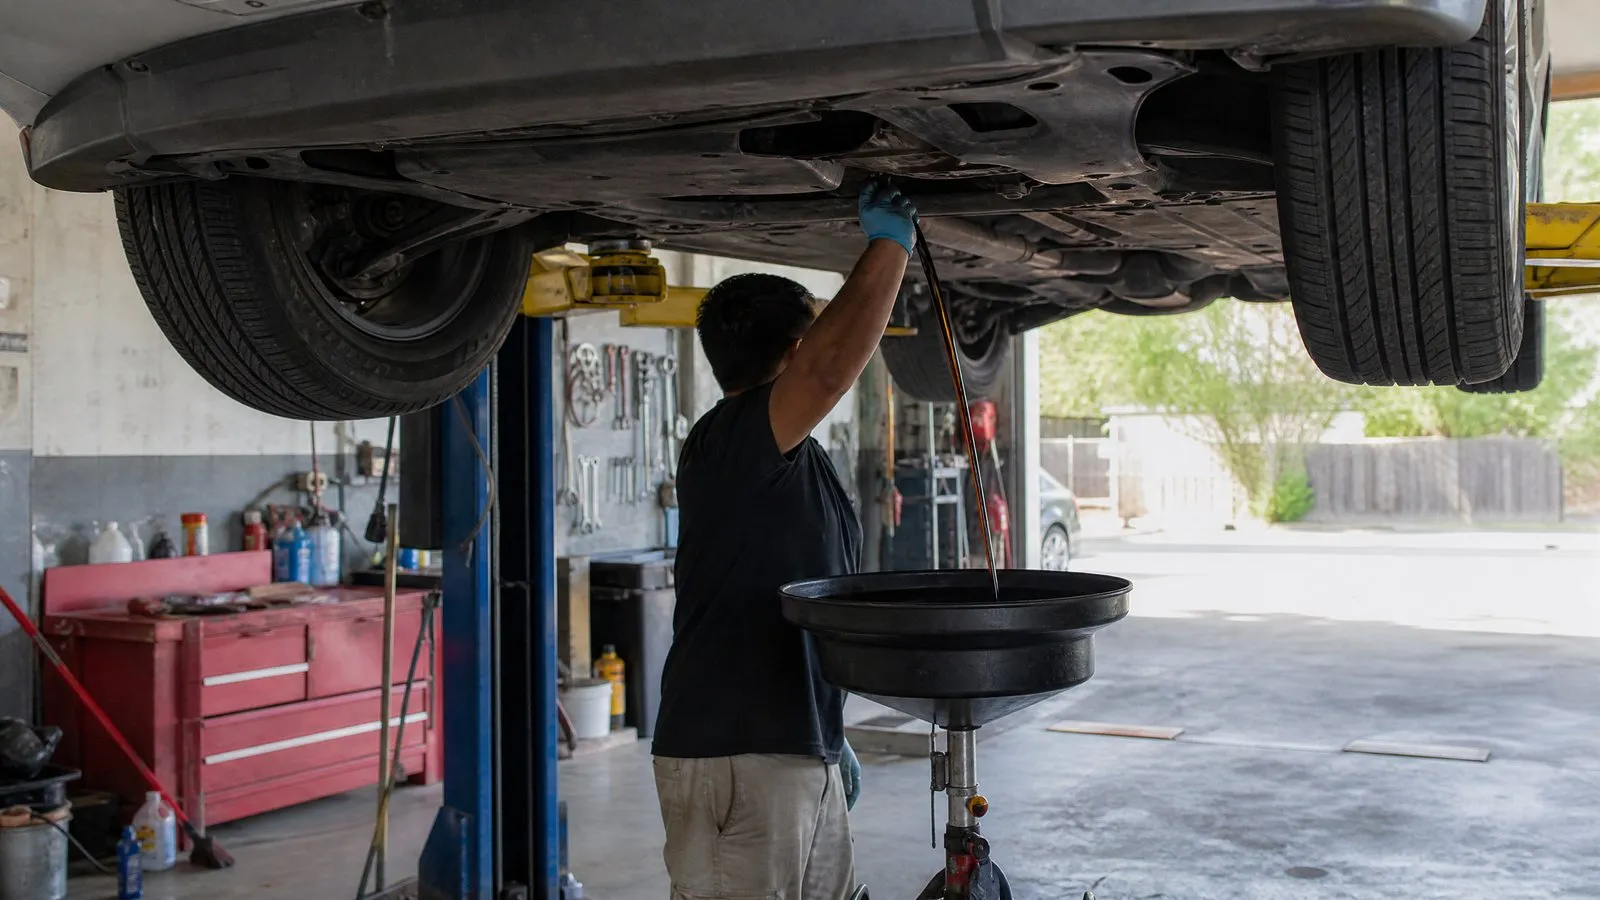
If your oil is low every single month, that’s burning or leaking oil and worth a mechanic’s look. Not sure when your next change is due? Try the oil change calculator or read how often you should really change your oil.
5. Coolant level, only when cold (about 1 minute)
Never open the radiator cap or coolant system when the engine is hot. The system is pressurized and can spray scalding coolant. Check only when the engine is completely cool to the touch.
Find the plastic coolant overflow tank under the hood. It’s see-through with “LOW”/“MIN” and “FULL”/“MAX” lines on the side, and the coolant is usually bright green, orange, pink, or blue. You can check the level just by looking, without opening anything. It should sit between the two lines.
If it’s low, top up with the correct coolant type for your car (the manual specifies it) mixed to the right ratio, usually 50/50 with distilled water unless you buy a pre-mixed bottle. Step-by-step: how to check and top up coolant safely.
Coolant that’s regularly low, or a sweet smell and white steam, points to a leak. If your temperature gauge ever climbs into the red while driving, see what to do if your car is overheating.
6. Brake fluid: a quick look (about 30 seconds)
You don’t open this one monthly, you just look. The brake fluid reservoir is a small translucent tank near the back of the engine bay, on the driver’s side, usually marked “MIN” and “MAX.”
- The level should be near MAX.
- The fluid should look clear to light gold. Dark brown or black fluid suggests it’s old and due for a change (typically every 2–3 years).
Here’s the useful part: a brake fluid level that’s slowly dropping often just means your brake pads are wearing down, which is normal. But a sudden drop can mean a leak, and brakes are not something to gamble on. If the level is low, or you notice squealing, a soft pedal, or longer stopping distances, read signs your brakes need attention and get it checked. More on the fluid itself: brake fluid, when to check and replace it.
7. Battery terminals (about 1 minute)
Look at the battery’s two terminals where the cables clamp on. You’re checking for:
- Corrosion, a white, blue, or greenish crusty powder
- Loose clamps you can wiggle by hand (with the engine off)
Light corrosion can be cleaned with a terminal brush and a baking-soda-and-water paste once the car is off; wear gloves and eye protection, and don’t let the solution get into the battery cells. Heavy buildup, a swollen case, or a battery that’s slow to crank are signs it’s near the end.
Most car batteries last 3 to 5 years. If yours is in that range and cranking feels sluggish, read how long a car battery lasts and the signs it’s dying. It’s smart to know how to jump-start a car safely before you ever need to.
8. Leaks under the car (about 1 minute)
Before you pull out of your usual parking spot, glance at the ground underneath. A clean driveway tells you a lot. If you see fresh drips, the color is a clue:
| Fluid | Typical color | What it may mean |
|---|---|---|
| Engine oil | Amber to dark brown | Oil leak; check level |
| Coolant | Green, orange, pink, blue | Cooling system leak |
| Transmission fluid | Red or brown | Transmission leak |
| Brake fluid | Clear to light brown, oily | Brake system leak — serious |
| Water | Clear, odorless | Usually just A/C condensation, normal |
Clear water dripping on a hot day is almost always harmless air-conditioning runoff. Anything colored or oily is worth tracking down. Put a clean piece of cardboard under the car overnight if you want to pinpoint where it’s coming from.
9. Dashboard warning lights (30 seconds)
Finally, sit in the car and turn the ignition to “on” without starting. Watch the dash: the warning lights should illuminate briefly as a self-test, then most should go out once the engine starts.
Any light that stays on is the car telling you something. A few deserve immediate attention:
- Oil pressure (oil can symbol): stop driving as soon as it’s safe — see the oil pressure warning light
- Temperature / overheating: pull over and let it cool
- Battery / charging (battery symbol): see the battery warning light meaning
- Brake system: get it checked before driving far
- Check engine: steady is “get it looked at soon”; flashing means stop — see what to do when the check engine light comes on
- Tire pressure (TPMS): a steady light means low pressure; flashing can mean a sensor fault — see the TPMS light explained
Not sure what a symbol means? Our dashboard warning lights guide and interactive warning light guide tool will identify it.
The printable 10-minute checklist
| # | Check | Look for | Pass |
|---|---|---|---|
| 1 | Tire pressure (all 4 + spare) | Matches door-jamb psi, cold | ☐ |
| 2 | Tire tread | Above 2/32”, even wear | ☐ |
| 3 | Headlights & DRLs | All working | ☐ |
| 4 | Turn signals & brake lights | All working | ☐ |
| 5 | Reverse & plate lights | All working | ☐ |
| 6 | Wiper blades | No cracks, no streaking | ☐ |
| 7 | Washer fluid | Topped up | ☐ |
| 8 | Engine oil level | Between marks | ☐ |
| 9 | Coolant level (cold only) | Between MIN/MAX | ☐ |
| 10 | Brake fluid | Near MAX, clear | ☐ |
| 11 | Battery terminals | Clean, tight | ☐ |
| 12 | Leaks under car | None (clear water OK) | ☐ |
| 13 | Warning lights | None staying on | ☐ |
Do this on the first of the month, or whenever you fill up near the start of a month, and it becomes a habit. For the bigger picture of what gets done at which mileage, see our car maintenance schedule for beginners. And before any long drive, run through the extra items in what to check before a road trip.
FAQ
How long does this really take once I’m used to it?
After a couple of months, most people finish the whole walkaround in 8 to 10 minutes. The fluid checks go fastest when the car is cold in the morning, so you don’t have to wait for the engine to cool.
Do I need to warm up the engine before checking the oil?
No. For most cars, checking with a cold engine on level ground gives an accurate, consistent reading. If you’ve just driven, wait at least 10–15 minutes so the oil drains back into the pan. Always follow your owner’s manual, since a few vehicles specify checking at operating temperature.
Is the pressure on the tire sidewall the number I should use?
No. The sidewall number is the tire’s maximum pressure, not the recommended one. Use the figure on the sticker in your driver’s door jamb or in the owner’s manual, usually 30–35 psi for a typical passenger car or small SUV.
What should I do if I find a fluid leak?
Identify the color using the table above. Clear water is almost always harmless A/C condensation. Anything colored or oily, especially brake fluid, should be checked by a mechanic. Note the fluid levels before you drive, and if a safety-related light comes on, don’t drive until it’s sorted.
Can I do all of this without any tools?
Almost. You can check lights, wipers, fluid levels, the battery, leaks, and warning lights with just your eyes and a rag. The one tool worth owning is an inexpensive tire pressure gauge, since the car’s TPMS only warns you once pressure is already significantly low.