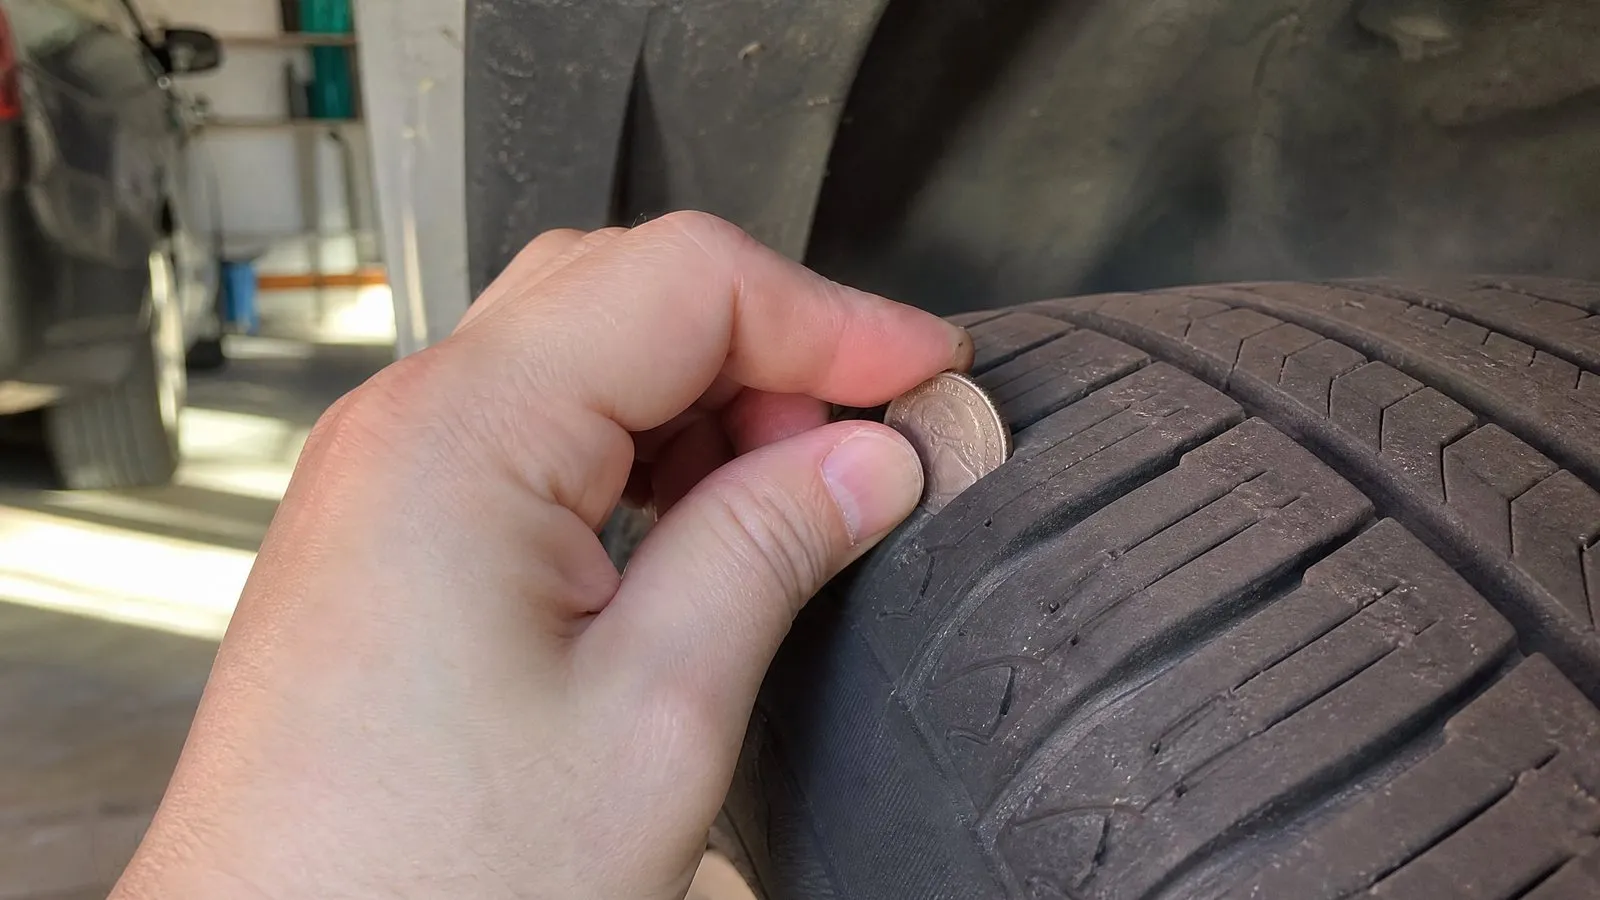
How to Check Tire Pressure the Right Way
Learn how to check tire pressure correctly: find the right psi on the door placard, check cold, pick a gauge, and adjust for temperature and safety.
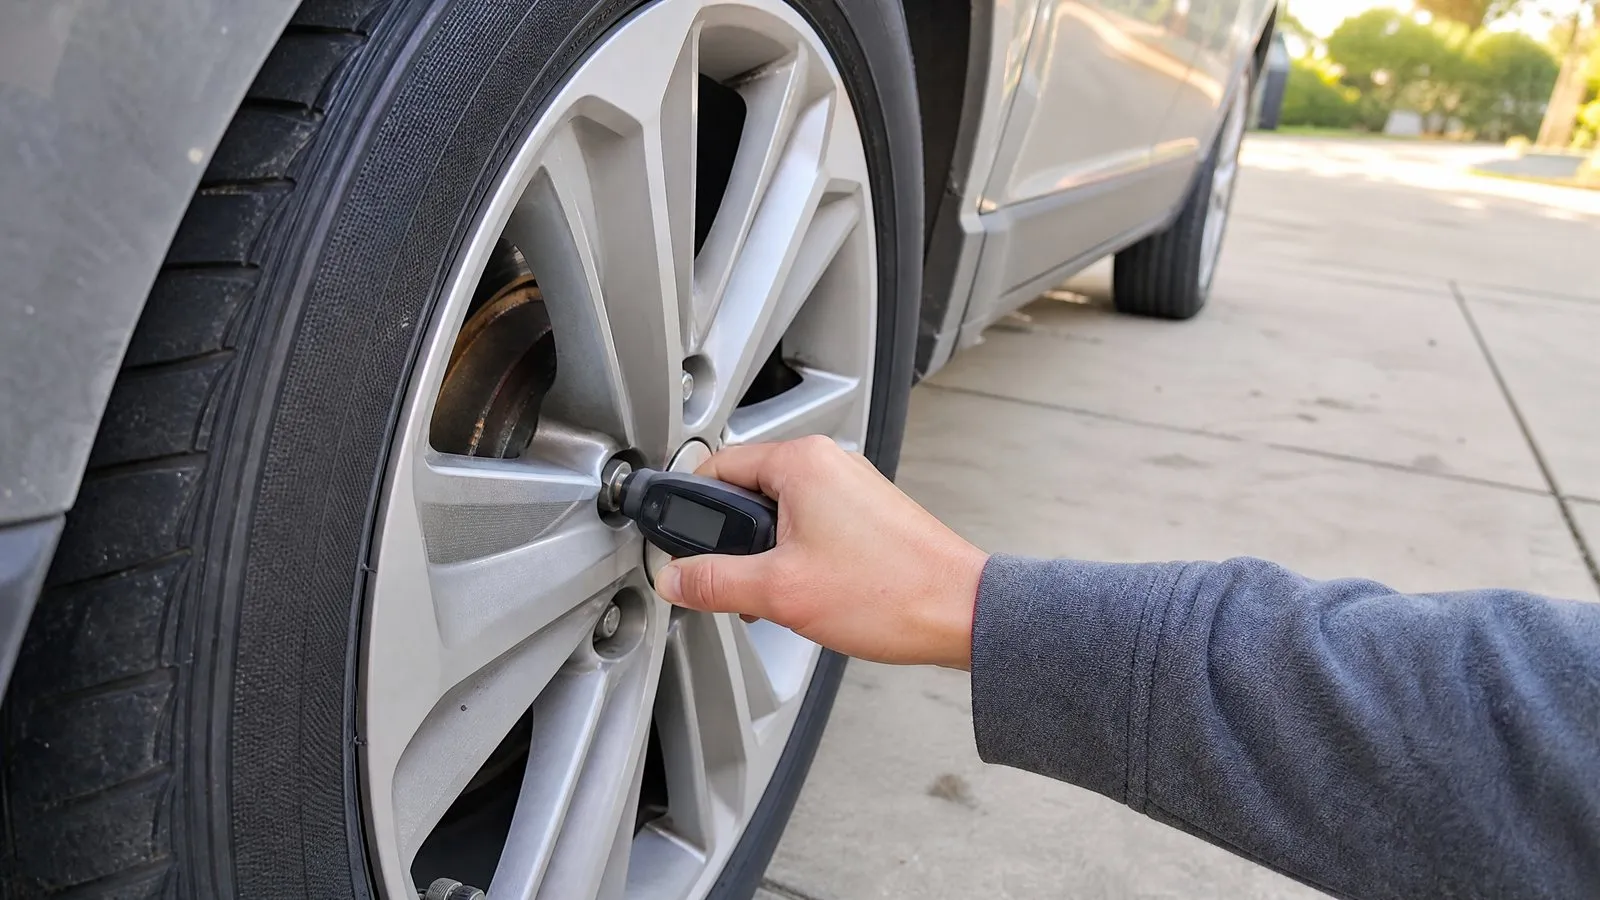
Check your tire pressure once a month and before any long trip, using a gauge, with the tires cold. Set each tire to the pressure listed on the sticker inside the driver’s door jamb, not the number molded into the tire sidewall. The whole job takes about five minutes and can save you money on fuel and tires while making your car safer to drive.
Here’s how to do it right, step by step.
Where to Find the Correct Pressure
The number you want is on a placard (a small sticker) usually located on the driver’s door jamb, visible when you open the door. If it isn’t there, check the inside of the fuel-filler door, the glove box, or the owner’s manual. Your owner’s manual is the final word for your specific car.
The placard lists the recommended cold inflation pressure in psi (pounds per square inch), often with different numbers for the front and rear tires. Some cars also list a higher pressure for carrying a full load of passengers and cargo.
Don’t use the sidewall number
The large pressure number stamped on the tire sidewall (something like “Max. Press. 51 psi”) is the maximum the tire can safely hold, not the pressure the carmaker wants you to run. Inflating to that maximum usually gives you a harsh ride, less grip, and faster wear in the center of the tread. Always go by the door placard instead.
Typical passenger cars and small SUVs call for somewhere between 30 and 36 psi. But don’t guess from that range: read your own placard.
Why “Cold” Matters
Tire pressure readings change with temperature. As you drive, the tires flex and warm up, and the air inside expands, raising the reading. The carmaker’s recommended pressure assumes the tires are cold, meaning the car has been parked for at least three hours, or driven less than about a mile.
So the best time to check is first thing in the morning, before you’ve driven anywhere. If you’ve already been driving, the reading will be a few psi high and you’ll end up under-inflating the tire if you set it to the placard number.
If you absolutely must check warm tires, expect them to read about 3 to 5 psi higher than cold. In that case, don’t bleed air out to hit the placard number. Wait until they cool, or add air to a target that’s roughly 4 psi above the placard figure and recheck cold later.
Gauge Types
You can’t trust the number on a gas-station air machine or your eyes. Buy your own gauge; good ones cost $10 to $30. There are three common types:
| Gauge type | Price range | Pros | Cons |
|---|---|---|---|
| Pencil (stick) | $5–$10 | Cheap, compact, no battery | Harder to read, less precise |
| Dial (analog) | $15–$30 | Durable, easy to read, often accurate | Bulkier, can drift if dropped |
| Digital | $10–$30 | Easy to read, precise, lit display | Needs a battery |
Any of these beats relying on the dashboard system alone. Your car’s TPMS (tire pressure monitoring system) is a safety backstop, not a precision tool. On many cars the warning light doesn’t come on until a tire is about 25% below the recommended pressure, which is already low enough to hurt handling and wear. For more on that light, see our guide to the tire pressure light (TPMS).
How to Check Tire Pressure: Step by Step
- Park and let the tires cool. Check in the morning or after the car has sat at least three hours.
- Find your target psi on the door-jamb placard. Note if front and rear differ.
- Unscrew the valve cap on the first tire and set it somewhere you won’t lose it (a pocket works).
- Press the gauge onto the valve stem firmly and squarely. You’ll hear a brief hiss if it isn’t sealed; push a little harder and straighter until the hiss stops and you get a steady reading.
- Read the number. A pencil gauge pops out a marked stick; a dial or digital gauge shows it directly.
- Compare to your target. If it’s low, add air. If it’s high, press the small pin in the center of the valve with the back of the gauge (or a fingernail) to let a little out, then recheck.
- Repeat for all four tires, then check the spare if you have one.
- Screw the valve caps back on. They keep dirt and moisture out of the valve.
Adding air
If a tire is low, use an air compressor. Many gas stations have one (sometimes $1 to $2), and a small home 12-volt inflator costs $25 to $60 and is handy to keep in the trunk.
Add air in short bursts, then check with your own gauge, because station gauges are often inaccurate and compressors can overshoot. It’s normal for a tire to be a couple of psi low; topping up 2 to 4 psi is routine.
If one tire is repeatedly much lower than the others, suspect a slow leak from a nail, a corroded wheel, or a bad valve. Have it inspected.
Adjusting for Temperature Changes
Air pressure drops as the weather gets colder. As a rule of thumb, tire pressure changes about 1 psi for every 10°F change in outside temperature. So a tire set to 33 psi on a 70°F afternoon in October can read around 28 psi on a 20°F morning in January, without any leak at all.
That’s why the TPMS light so often comes on during the first cold snap of fall. The fix is simply to top the tires back up to the placard pressure. Don’t over-inflate in summer to “save” for winter; set to the placard year-round and recheck when seasons change. If you’re getting ready for the cold months, our guide on getting your car ready for winter covers this alongside the other seasonal basics.
High heat and highway speeds raise pressure, but you don’t need to adjust for that. The placard pressure already accounts for normal warm-up. Just remember to only set pressure when cold.
Don’t Forget the Spare
A spare tire is useless if it’s flat when you need it. If your car has a full-size or compact (donut) spare, check it when you do the others, about once a month.
Compact spares often require a much higher pressure, commonly around 60 psi, which is printed on the spare itself and in the manual. A spare slowly loses air over months of sitting, so it’s easy to find one far below spec. If you ever do need it, our step-by-step guide on how to change a flat tire safely walks through the rest.
Note that many newer cars come with a tire inflator kit instead of a spare. If that’s you, check the kit’s sealant expiration date, which is usually printed on the canister.
How Inflation Affects Safety, Wear, and Fuel
Getting pressure right isn’t fussy perfectionism. It affects three things that matter.
Safety
Under-inflated tires flex more, build up heat, and are more prone to sudden failure, especially at highway speed on a hot day. They also lengthen stopping distances and make the car feel vague and slow to respond in an emergency swerve. NHTSA and tire manufacturers both point to under-inflation as a leading, preventable cause of tire failure. Over-inflation is less dangerous but reduces grip and gives a harsher ride.
Tire wear
Pressure shows up in the wear pattern:
- Under-inflated: wears faster on both outer edges of the tread.
- Over-inflated: wears faster down the center.
- Correctly inflated: wears evenly, so the tire lasts as long as it should.
Chronically low tires can lose a meaningful chunk of their expected life, which is real money given that a set of four tires often runs $500 to $1,000 installed. While you’re thinking about tires, it’s worth learning how to check tire tread depth and how often to rotate tires, since all three go together.
Fuel economy
Under-inflated tires create more rolling resistance, so the engine works harder. The US Department of Energy estimates that keeping tires properly inflated can improve gas mileage by a small but real amount, often in the range of a few percent across a set that’s significantly low. It’s one of the cheapest ways to protect your fuel bill.
Make It a Habit
Checking pressure fits neatly into a monthly routine. The AAA and the nonprofit Car Care Council both recommend a monthly tire check for exactly these reasons. Pair it with a quick walk-around and you’ll catch most small problems before they strand you.
A simple cadence that works:
- Monthly: check all four tires plus the spare, cold.
- Before any long trip: check again, since you may be loading the car heavier.
- At the first cold snap and first hot spell: recheck and reset to the placard.
Our 10-minute monthly car checklist folds tire pressure in with the other five-minute checks, and the broader car maintenance schedule for beginners shows where it fits across the year.
FAQ
How often should I check tire pressure?
Once a month and before any long road trip. Also recheck when the weather turns sharply colder or hotter, since pressure moves about 1 psi for every 10°F.
Can I just rely on the TPMS warning light?
No. The TPMS is a backstop, and on many cars the light doesn’t trigger until a tire is roughly 25% low, which already hurts handling, wear, and fuel economy. Use a hand gauge to catch small drops early.
Should I inflate to the number on the tire sidewall?
No. The sidewall figure is the tire’s maximum pressure, not the recommended one. Use the psi on the door-jamb placard (or in your owner’s manual), which is set for your specific car.
Why is my tire pressure low every cold morning but fine later?
That’s normal temperature behavior, not necessarily a leak. Cold air contracts and reads lower; the tire warms and reads higher as you drive. Set the pressure to the placard when the tires are cold. If one tire is consistently much lower than the rest, have it checked for a slow leak.
What pressure should the spare be?
Check the spare itself and your manual. Full-size spares usually match the other tires, while compact “donut” spares often need around 60 psi. Check it monthly, because a sitting spare loses air slowly over time.
A note on health information: Our guides are general information for typical passenger cars. Always follow your vehicle's owner's manual, and have safety-critical problems such as brakes or steering checked by a qualified mechanic. If a warning light is red or the car drives differently, stop safely and get help.